Decentralized Exchange Development Company Dubai
Decentralized (DEX) Exchange Development Company Dubai Kryptomind is one of the best decentralized exchange development company in Dubai, UAE that is changing the game in
Decentralized (DEX) Exchange Development Company Dubai Kryptomind is one of the best decentralized exchange development company in Dubai, UAE that is changing the game in

Rust Developers Dubai Hire Experience Rust Developers through Kryptomind! Rust developers also known as Rust programmers write software in Rust, a systems programming language known
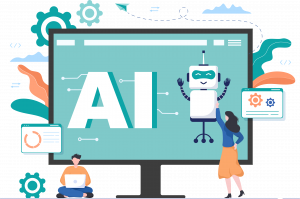
If you’re looking to embrace the AI revolution to uplift and boost your business and tap into a promising source of revenue generation, then you
With the rush toward digitization and the online presence of businesses being a legitimate source of revenue, blockchain is the one element where the focus
ChatGPT Applications Development Company Dubai With the AI (artificial intelligence) revolution quickly winning over skeptics and the use of popular AI tools like ChatGPT

Launch an Initial Coin Offering (ICO) Successfully in 2025? Get the best technical, financial, and trend-setting ICO (Initial Coin Offering) launch with help of Kryptomind
Blockchain Consultant Dubai, UAE Blockchain may seem complex at any level, but with Kryptomind blockchain consultants, you can easily transform your ideas into innovative advanced
Deep Learning Development Company Dubai Deep Learning Development Service: Whether your business requires relatively smaller scale operations and developers for machine learning or the more
Hire MERN Stack Developers Dubai Looking to hire MERN stack developers in Dubai to build dynamic and robust applications? Kryptomind’s staff augmentation service offers